If you want to prevent your wordpress diable site from google indexing site from being indexed by Google and other search engines, there are several effective methods you can use. Disabling indexing can be useful for various reasons, such as when you’re developing a new site, making significant changes, or simply want to keep your content private. In this article, we’ll explore how to disable Google indexing on your WordPress site.
Why Disable Indexing?
Before diving into the methods, let’s understand why you might want to disable indexing:- Site Maintenance: When you're making changes or updates, you may want to keep your site off search engines temporarily.
- Privacy: If your site contains sensitive or personal information that you don’t want to be public.
- Development: If you’re working on a new site that isn’t ready for public viewing yet.
Methods to Disable Google Indexing
1. Using WordPress Settings
The easiest way to prevent indexing is through WordPress's built-in settings:- Log in to Your WordPress Admin Dashboard.
- Go to Settings > Reading.
- Check the box labeled "Discourage search engines from indexing this site."
- Click the "Save Changes" button.
2. Using a Plugin
If you’re using an SEO plugin, such as Yoast SEO or All in One SEO, you can easily set up noindex tags:For Yoast SEO:
- Install and activate the Yoast SEO plugin if you haven’t already.
- Go to SEO > Search Appearance.
- Under the “General” tab, look for the “Show SEO in search results” setting and select “No” for the type of content you want to hide from search engines.
- Save changes.
For All in One SEO:
- Install and activate the All in One SEO plugin.
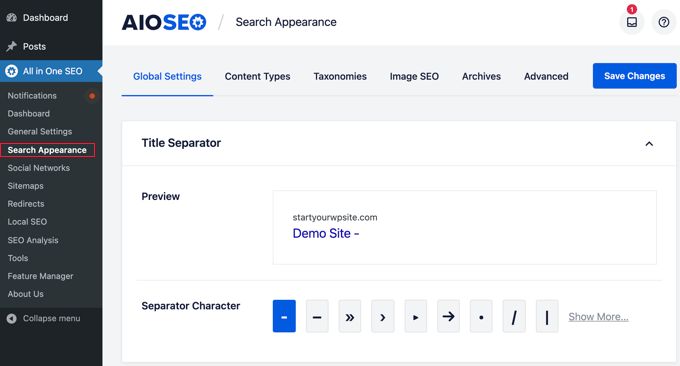
- Go to All in One SEO > General Settings.
- Find the "Robots.txt" section and add the following lines:
makefile
User-agent: * Disallow: / - Save changes.
3. Modifying the Robots.txt File
You can manually edit the robots.txt file in your WordPress site to block search engines from crawling your site:- Access your WordPress root directory using FTP or a file manager in your hosting account.
- Look for the
robots.txtfile. If it doesn’t exist, create a new text file and name itrobots.txt. - Add the following lines to block all search engines:
makefile
User-agent: * Disallow: / - Save the file and upload it back to the root directory if needed.
4. Using Password Protection
Another effective method to disable indexing is to password-protect your entire site or specific pages:- Go to the page or post you want to protect in your WordPress dashboard.
- In the "Publish" section, find the "Visibility" option and select "Password Protected."
- Enter a password and update the post or page.
5. Deleting Content
If you have content on your site that you want to be removed from Google’s index, you can:- Use Google Search Console.
- Go to the "Removals" section and request the removal of specific URLs.
